Setup SAP Web IDE as your SAPUI5 development environment. SAP provides SAP Web IDE trial account free of cost. SAP Web IDE is a powerful platform for development of SAP UI5, SAP Fiori and other full stack business apps.
Start SAP Web IDE
The development environment we choose for SAPUI5 development is SAP Web IDE. To access SAP Web IDE, you should have an account in SAP Cloud Platform.
Don’t worry, SAP has given trial version which is absolutely free of cost. Login to SAP Cloud Platform at https://www.sap.com/cmp/td/sap-cloud-platform-trial.html . If you don’t have an account with SAP Cloud Platform, click Register button and register a free trial account for yourself.

Follow the usual process of registration. You will need an email account as well as a valid mobile number for verification. Keep both the things handy.
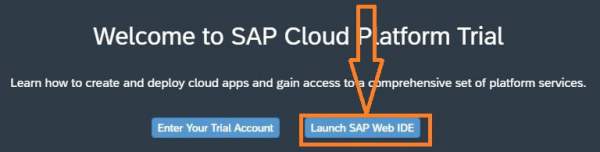
After creating your SAP Cloud Platform account, you should be able to login. Click on Lauch SAP Web IDE to lauch SAP Web IDE trial account.
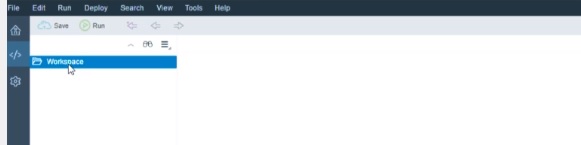
This will open up the SAP Web Ide. Click on </> for development perspective. You will find an empty workspace as shown in image below. We will now create a project under this workspace.
Create your first SAPUI5 hello world example
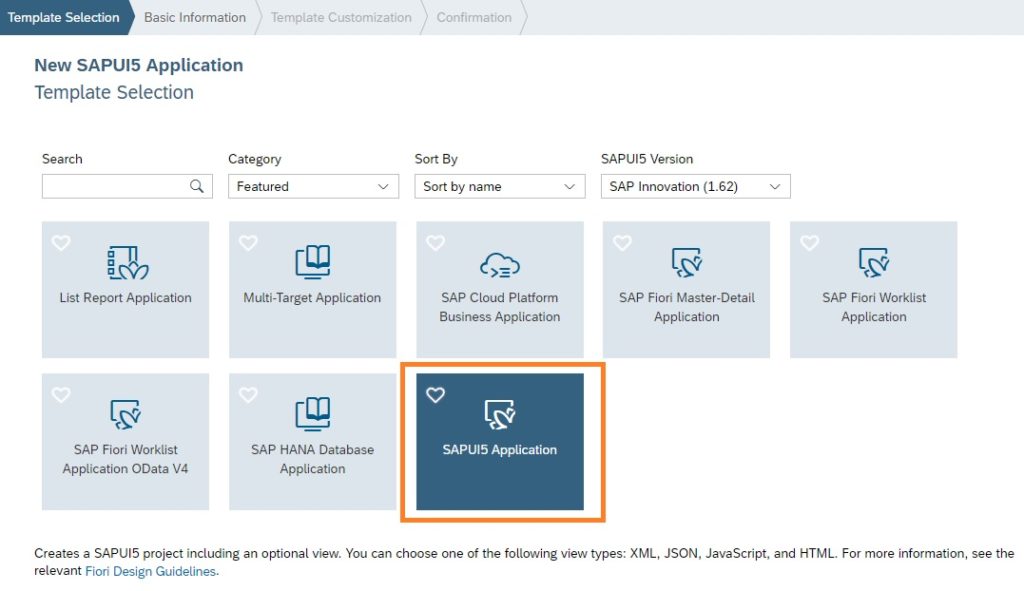
Right-click on the workspace to select New > Project from Template. New SAPUI5 Application Template selection wizard will open up. This wizard helps in creating a base SAPUI5 application. Select SAPUI5 Application and click Next.
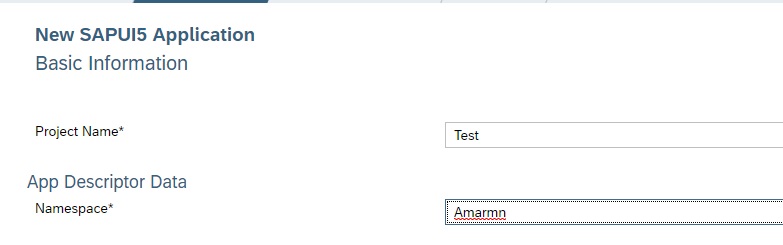
In the next screen, the wizard asks you to input Project Name and Namespace. Note that both the fields are mandatory. Provide a relevant project name and Namespace and click Next.
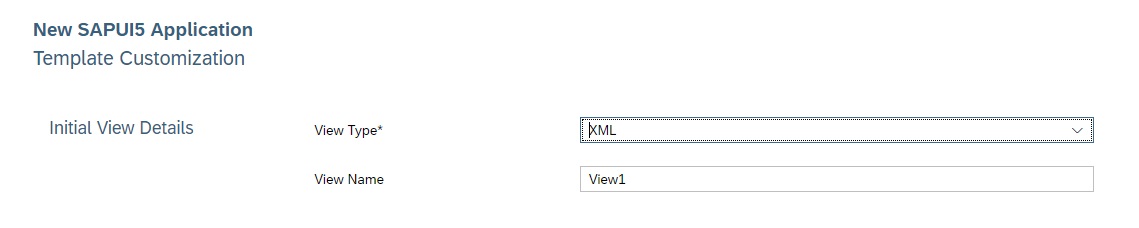
In the next screen, wizard displays View Type and View Name. Note that the wizard will create a View with name View1 and of type XML. Let it be as it is and click Next.
At the last screen, all you need to do is click finish and the wizard creates your first SAPUI5 application.
Run the application by clicking Run button in the header toolbar.
Congratulations.. you have successfully executed your first SAPUI5 hello world example application.
Connect to SAP Gateway Demo System ES5
Your SAPUI5 development environment setup will not be considered as complete, if it cannot access some OData service. You will need OData service to access data to display in SAPUI5 projects.
SAP provides ES5 demo system so that you can access real service data for SAPUI5 projects. Access to ES5 demo system is also available for free and in below paragraphs we demonstrate how to connect Demo System ES5 to SAP Web IDE.
You should create an account on the Gateway system. As you have already created an account in SAP Cloud Platform, you will use the same credentials for ES5 demo system. Click on https://register.sapdevcenter.com/SUPSignForms to create Gateway system account.
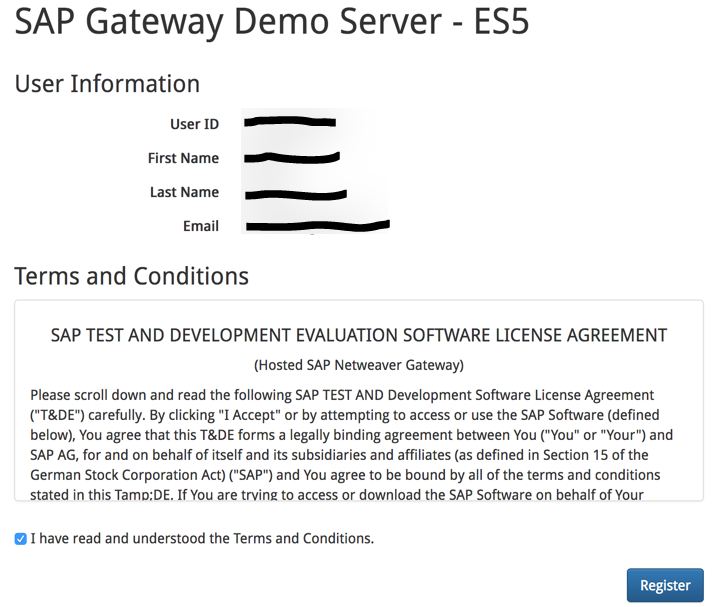
It pulls the User Id and other details from your SAP Cloud Platform. Click Register.
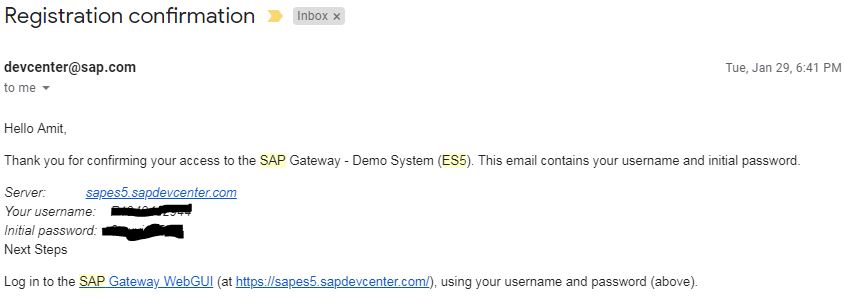
Once you click Register, it will show you a temporary password with which you can login to SAP Gateway demo system. Also, you will receive an email with login credentials similar to the image below. Use these credentials to log into ES5 demo system.
Click on https://sapes5.sapdevcenter.com/sap/bc/gui/sap/its/webgui for ES5 Gateway System. Login with username and password. At your first login, you will be prompted to change the initial password. Do as required and click continue to enter SAP Gateway demo system.

If you have got the above screen, it means that you are able to access the SAP Gateway Demo System.
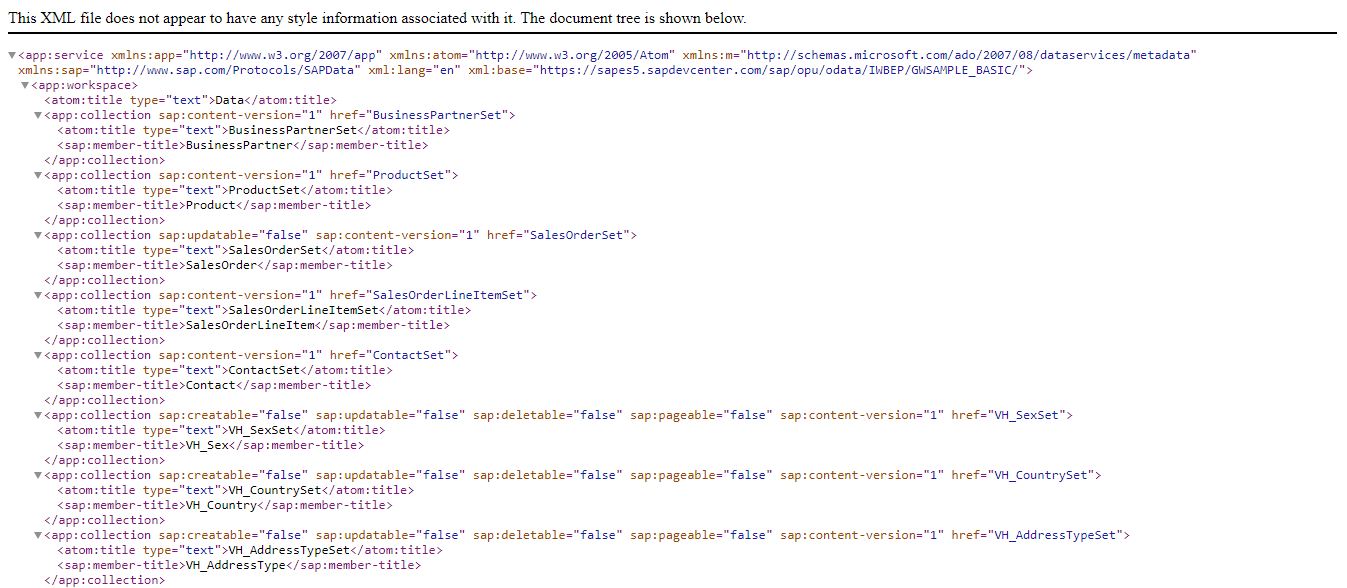
Let’s test the access of an OData service provided by the Gateway system. Click on the URL https://sapes5.sapdevcenter.com/sap/opu/odata/IWBEP/GWSAMPLE_BASIC/. If prompted for a username and password, provide the Gateway system username and password. You will see the metadata of the OData service.
SAP Cloud Platform destination configuration
You have now access to Gateway demo system. In order to access data from this system inside Web IDE, we should configure the Gateway system in SAP Cloud Platform.
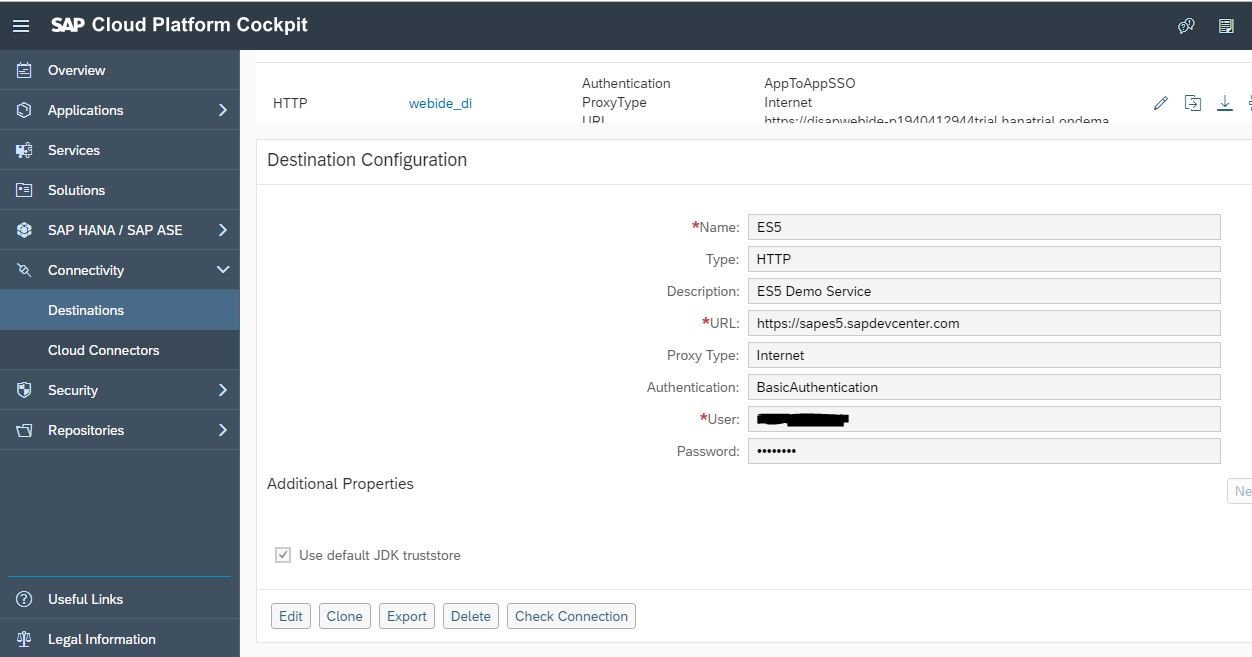
Log into SAP Cloud Platform. At the left side click Destination. Choose New Destination and fill in the details as given in below image. The username and password to be provided is your SAP Gateway system.
Add Additional Properties, these are important as it will enable the destination to be used in SAP Web IDE.
| Field Name | Value |
| WebIDEEnabled | true |
| WebIDESystem | gateway |
| WebIDEUsage | odata_gen, odata_abap, bsp_execute_abap |
| sap-client | 002 |
Save your configuration.
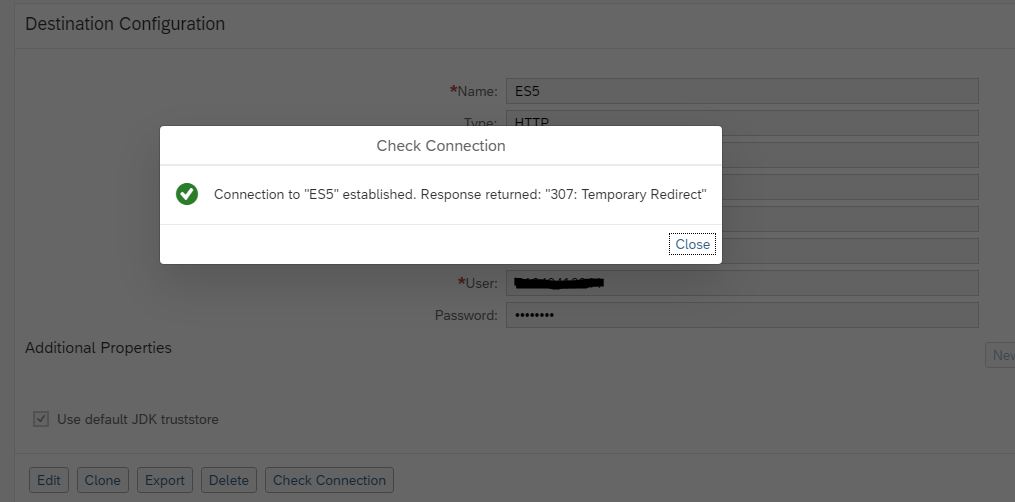
Once saved, click the Check Connection button to test. You will receive successful message indicating connection is working.
If you have worked up til this point, you have properly setup the SAPUI5 development environment.
SAP Web IDE Northwind OData Service Destination Configuration
Northwind OData service is a publicly available OData service, that holds the data of a fictions company Northwind. Configuring Northwind OData service in SAP Cloud Platform destination will be a useful step, as you will get access to a publicly available OData service to consume in your SAPUI5 application.
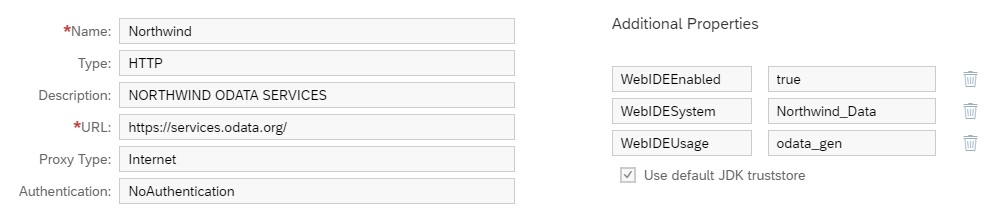
Log into SAP Cloud Platform trial account, and click Destination in left-hand side menu. Click New Destination. Fill in the details as shown in image below. Save and click Check Connection to see if the destination is configured correctly.
| Name | Northwind |
| Type | HTTP |
| Description | Northwind Odata service |
| URL | https://services.odata.org/ |
| Proxy Type | Internet |
| Authentication | NoAuthentication |
| WebIDEEnabled | true |
| WebIDESystem | Northwind_Data |
| WebIDEUsage | odata_gen |
Ensure that you check Use default JDK truststore.
Now you have completely setup the SAPUI5 development environment with access to SAP Web IDE and two OData services configured as destination. Thanks for reading.
SAPUI5 Tutorials
- SAPUI5 Development Environment Setup
- MVC architecture in SAPUI5 application
- SAPUI5 Programming for Beginners- Part 1- Start coding in SAPUI5
- SAPUI5 Programming for Beginners – Part 2 – Introducing SAPUI5 JSON Model
- SAPUI5 Component.js file and SAPUI5 Manifest file – Part 3 – SAPUI5 Programming for Beginners
- Embedding custom CSS style class to SAPUI5 control – Part 4- SAPUI5 Programming for Beginners
- SAPUI5 ComboBox XML Example: Bind Items, Get Selected Item
- SAPUI5 Fragments Example – Part 5 – sapui5 tutorial for beginners
- SAPUI5 sap.m.list example Aggregation Binding – Part 6 – sapui5 tutorial for beginners
- SAPUI5 Expression Binding How to Use – Part 7 – sapui5 tutorial for beginners
- SAPUI5 Custom Formatter Functions How to Use – Part 8 – sapui5 tutorial for beginners
- SAPUI5 Routing and Navigation with Parameter – Part 9 – sapui5 tutorial for beginners
- SAPUI5 OData model: How to consume Northwind OData service in SAPUI5 Application
- SAPUI5 table with edit Button and editing row value in popup Dialog box
- Connecting SAP HANA Cloud Platform with the Cloud Connector
- SAPUI5 SplitApp example in the easiest way
- SAPUI5 OData: How to implement Filter, Sort, Expand and Group
- SAPUI5 OData CRUD Operations
- SAP tools for Eclipse
- Raise Odata error message handle in SAPUI5
- SAPUI5
- SAPUI5 Nested View
- SAPUI5 define modules
- SAPUI5 Element Binding master detail table example
- SAPUI5 display Message Toast